Illustration
My Process
The Mermaid in the Mirror
This mermaid drawing was created for the Mermay Art Challenge, an annual event that encourages artists to explore themes of aquatic mythology and imagination. I was inspired by my love for fish, marine life, and the deep symbolism found in mermaid legends across cultures.
Mermaids have long been associated with femininity, mystery, and the powerful emotional pull of the ocean. In this piece, I reflect on the connection between women and water—how both are often seen as beautiful, unpredictable, and deeply tied to cycles of change and emotion.

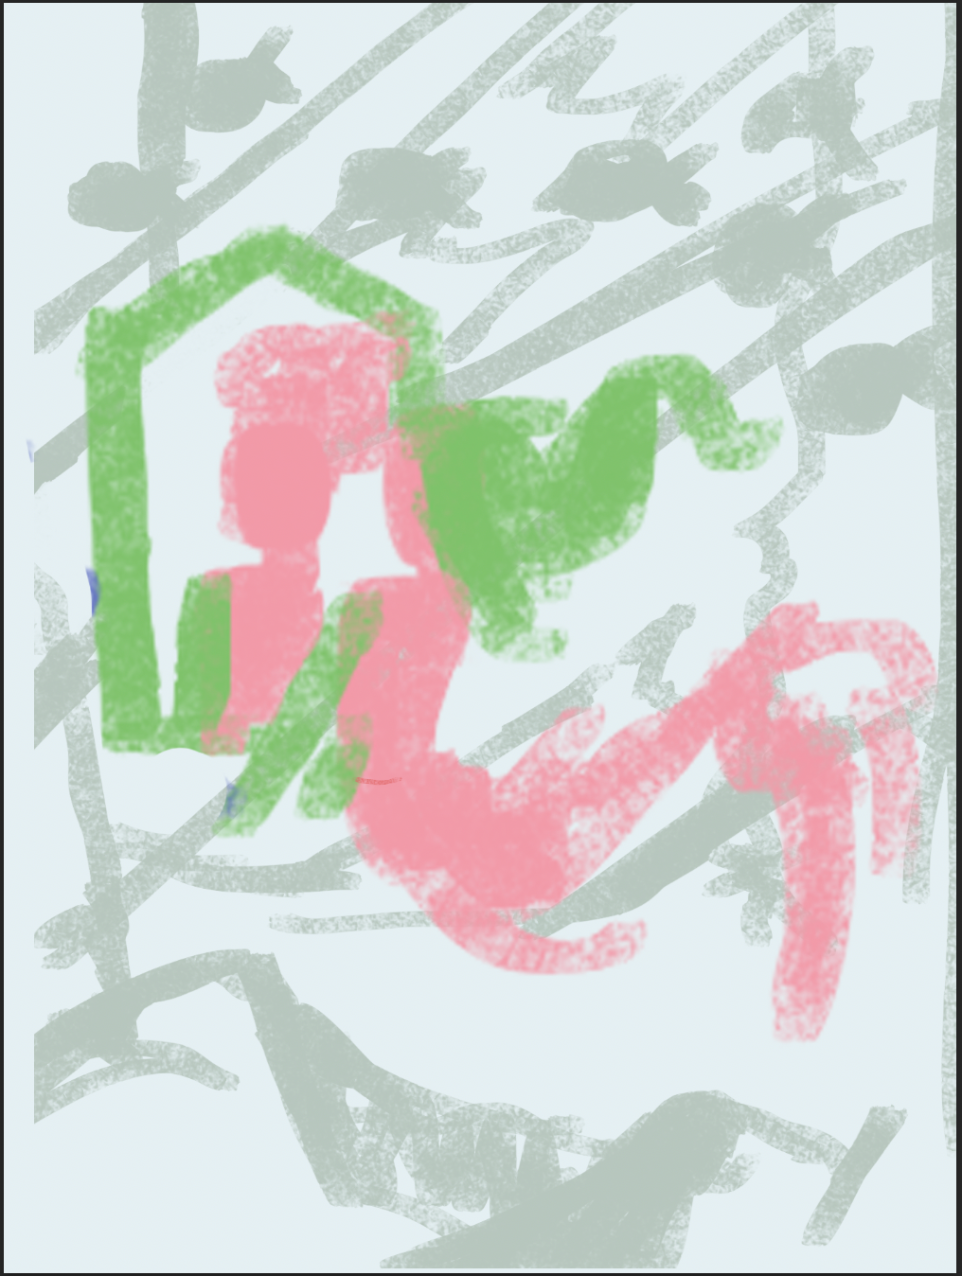
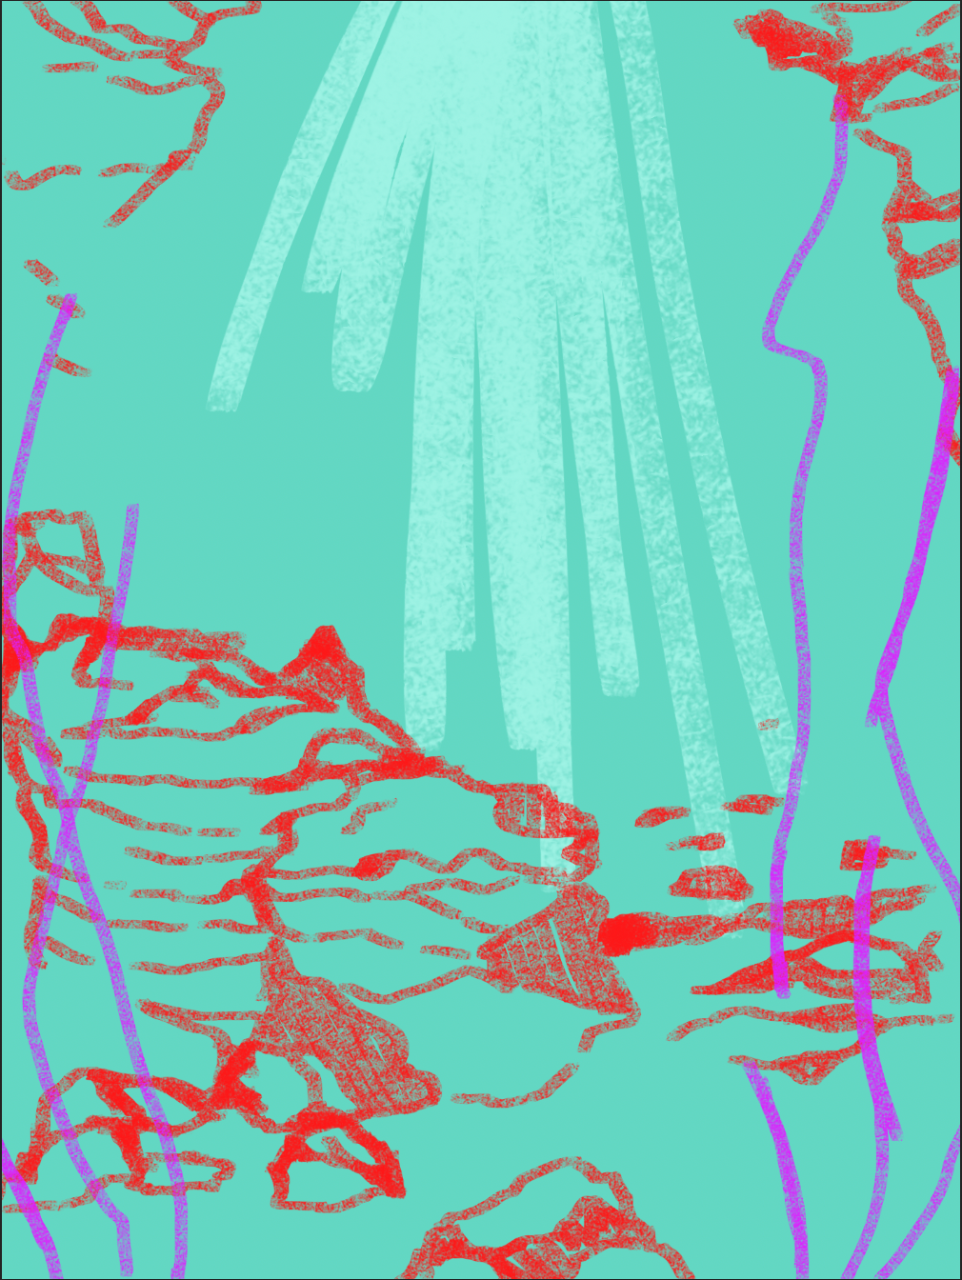
Step One- Simple Sketch
The process of creating an illustration starts with a simple sketch, I mark out the positions of everything that I want to include in this piece. The simple sketch allows me to look into how the piece will work analyzing various compositions, layouts, and proportions.
This simple sketch is often done in two parts, the first is very gestural. I use a larger brush to imply the spaces I would like to filled up for this part of composition, the second the sketch is a lot more detailed. I add in small elements that I feel would impact the pieces overall tone while not adding details I am adding information.
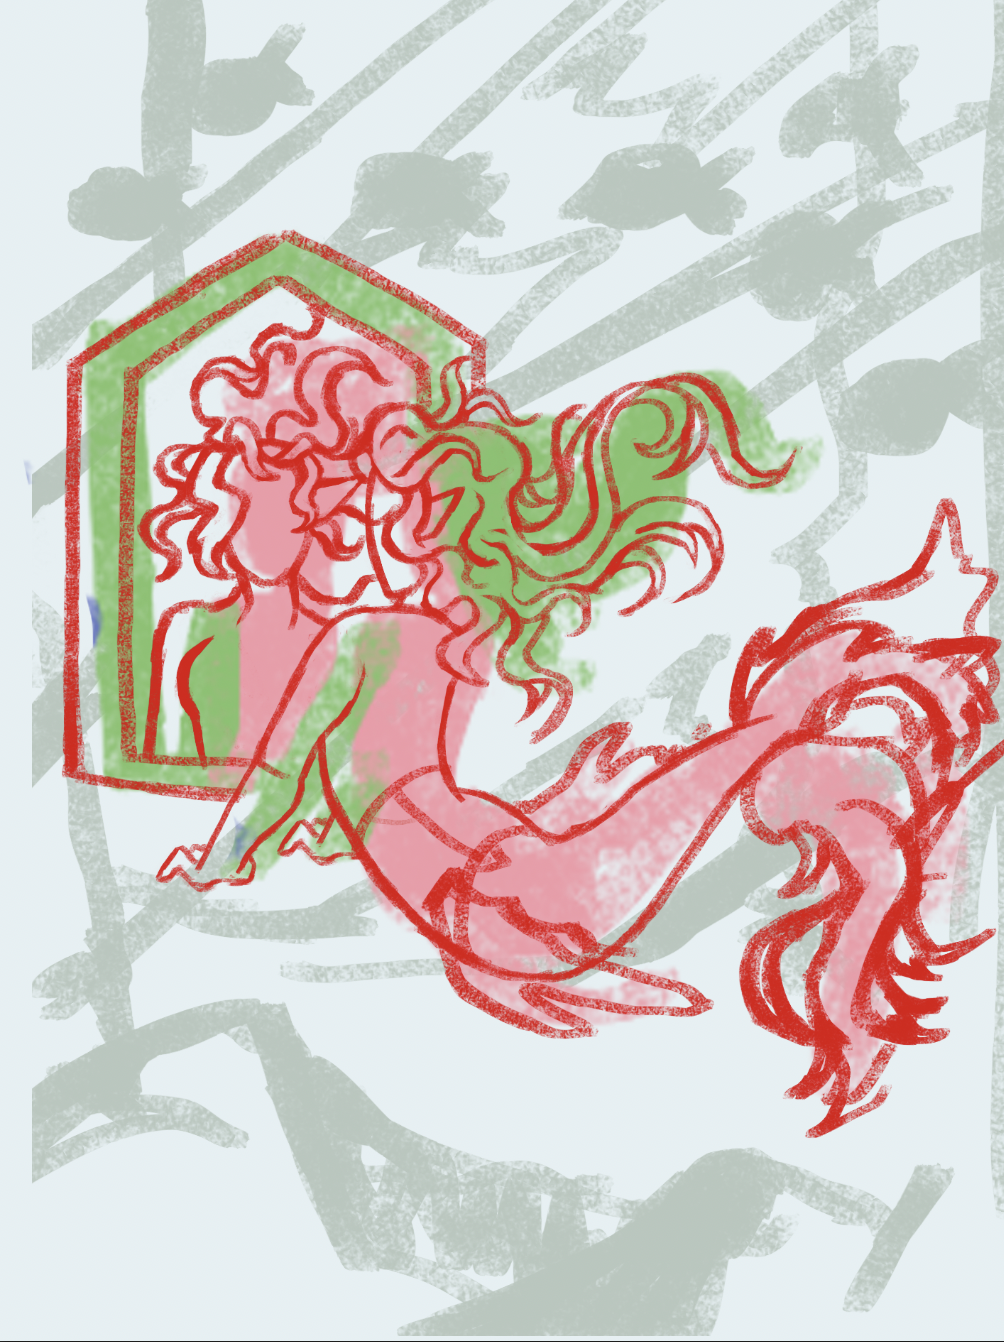

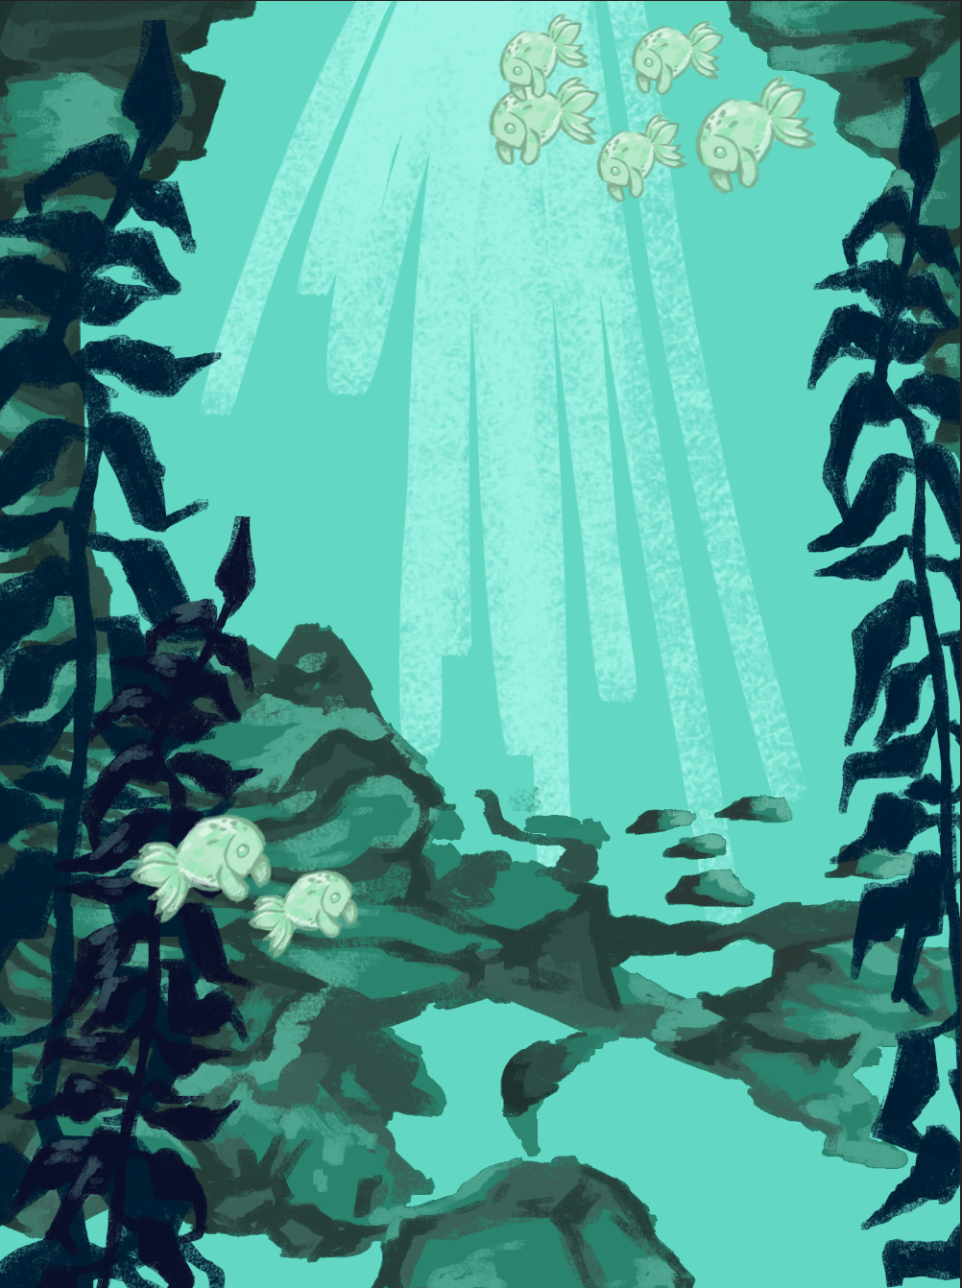
Step Two- Background and Foreground
The second step of my work is refinement. I will refine the simple sketch analyzing the small details and making them more accurate. I also go into the background and clarify what my larger brushstrokes were implying.
This step is often done quickly. While I am clarifying details, I am not overly focused on the quality of these clarifications. I will refine this one more time when I am creating line art and coloring in the background
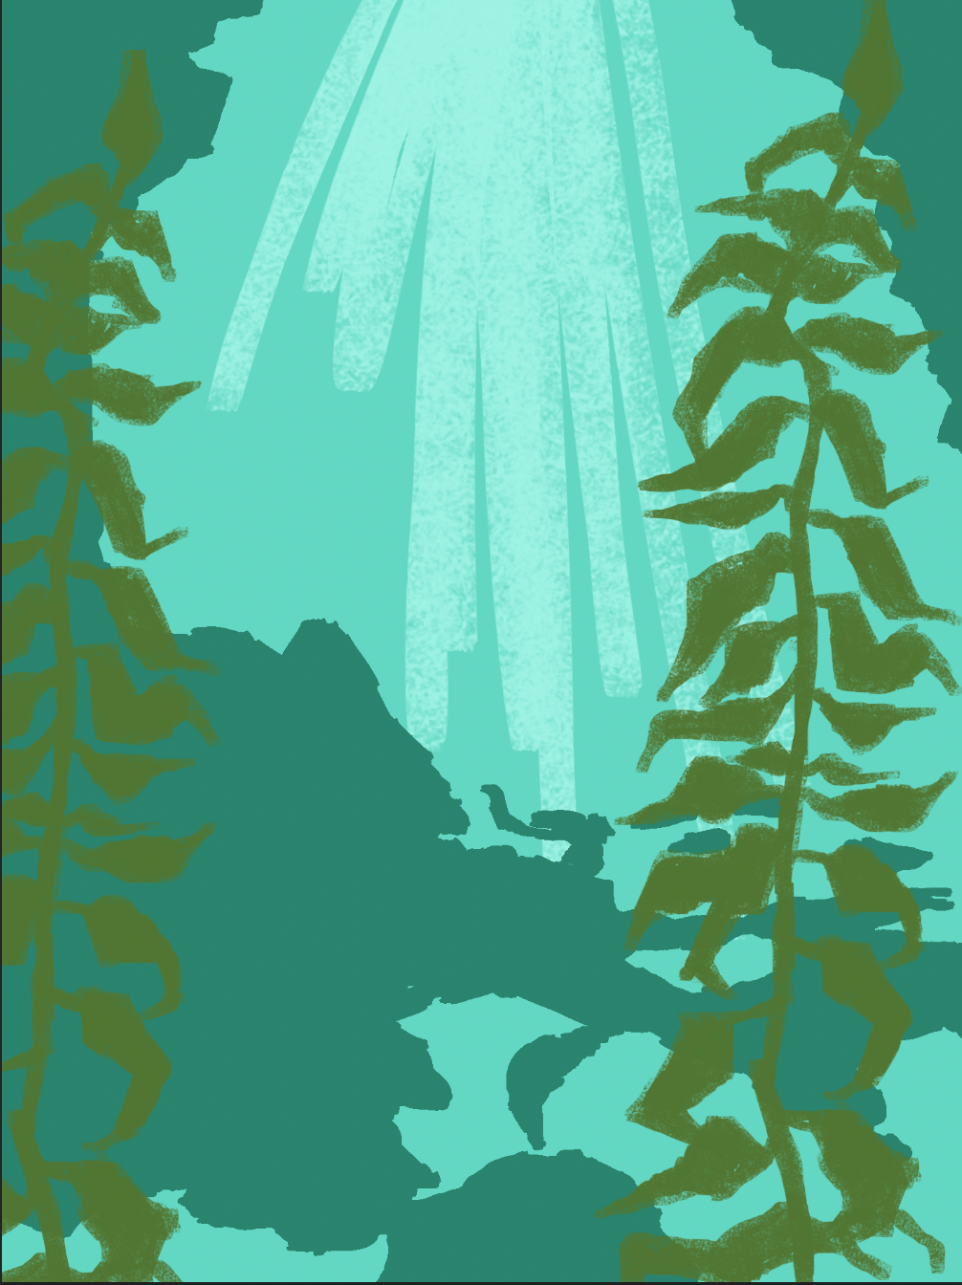
Step Three- Background Flat Colours
The process of rendering the background starts with laying down flat colors. This is done in two steps as well the background and the lighting. The lighting is generally done in a tone that is lighter than the canvas color, in this case a light blue but I may even a use a yellow.
The blocking off of the main features is the other step of applying flat colors, this background is done with base colors that I will shade to make it more accurate.
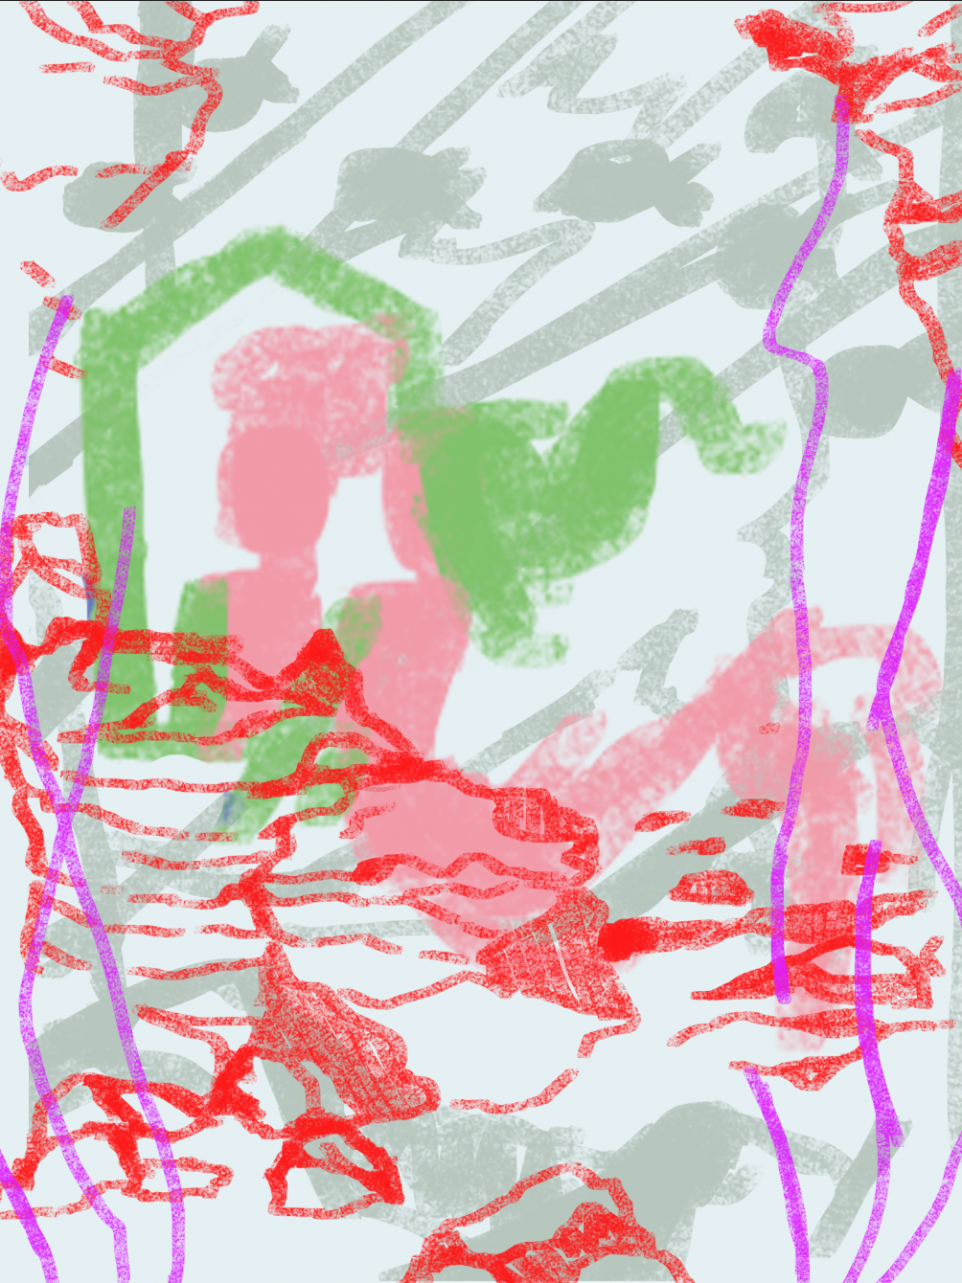
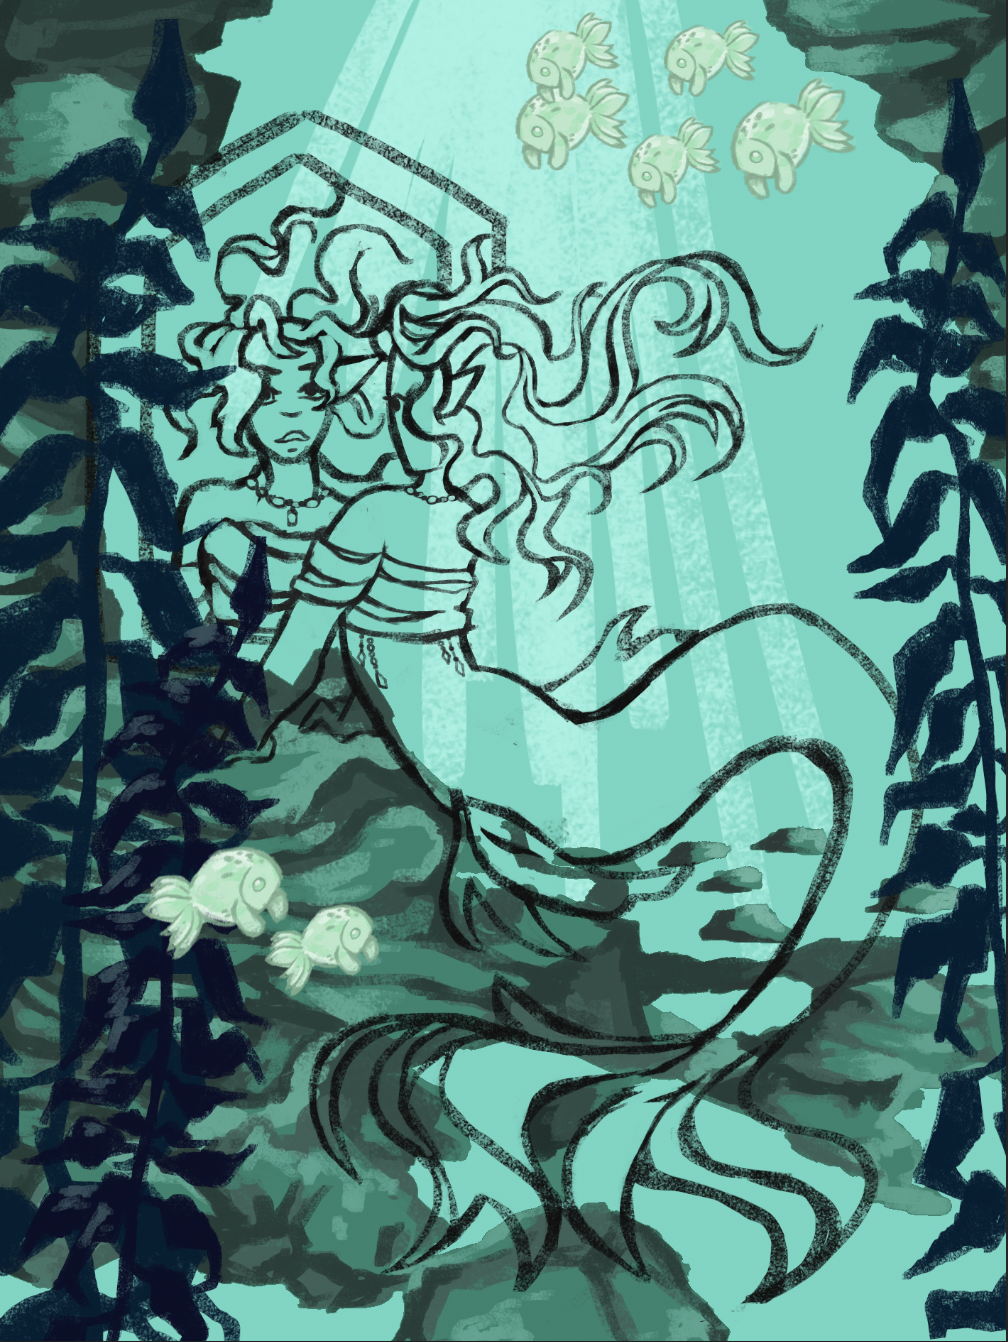
Step Four- Shading and Line Art
The process between the main features and the background converges once again, as I am working on sharing the background I also begin to finalize the sketch one last time creating the line art that I will later on shade.
The shading is fairly typical but the line art takes the longest time.This is done in black and I add final details clarifying elements and this is also the stage where I begin to simplify the image.
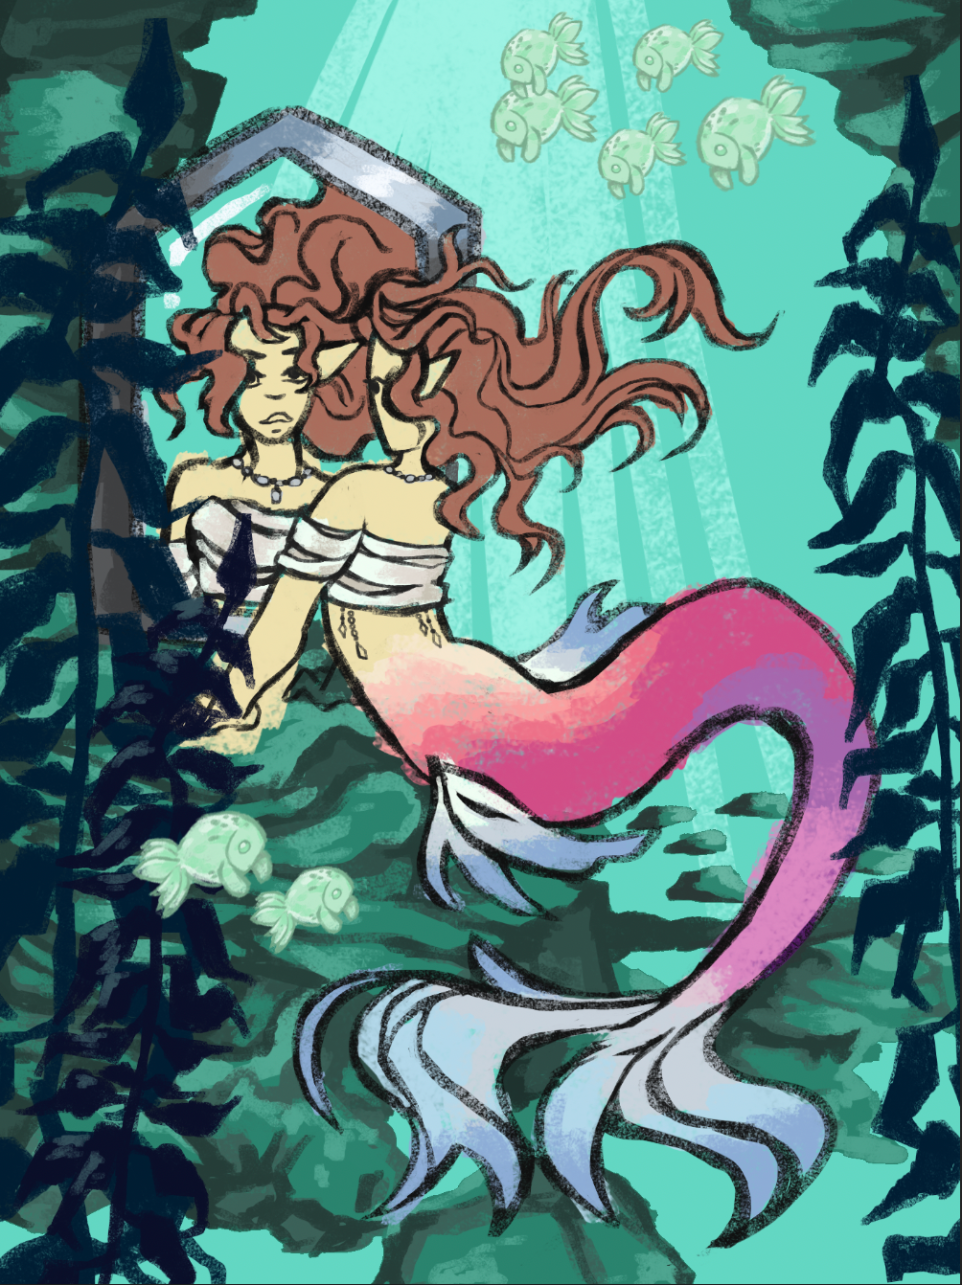

Step Five- Main Flats and Shading
I begin with flat colors mapping out where each elements belongs. They will later be shaded but will have the undertones of these flats. I also begin to decide how the light will fall and hit each element this means that these flats will have elements of tonality shades of light and dark but not blended.
Blend out all of my shades to one cohesive gradient and begin to add elements for texture. At a point I began choosing what tones shadows will be and how light will affect fine details including specular reflection, in this case focusing on the scales.
Reflection
When working on art pieces used I Photoshop and Krita, both staple applications in the world of illustration. I was also able to improve my style and work on consistency. When working on commissions able to improve my skills in character design as I had to work with either with the provided references or text descriptions of the characters rather than original images. I was also able to develop skills in other areas such as composition and motion graphics.